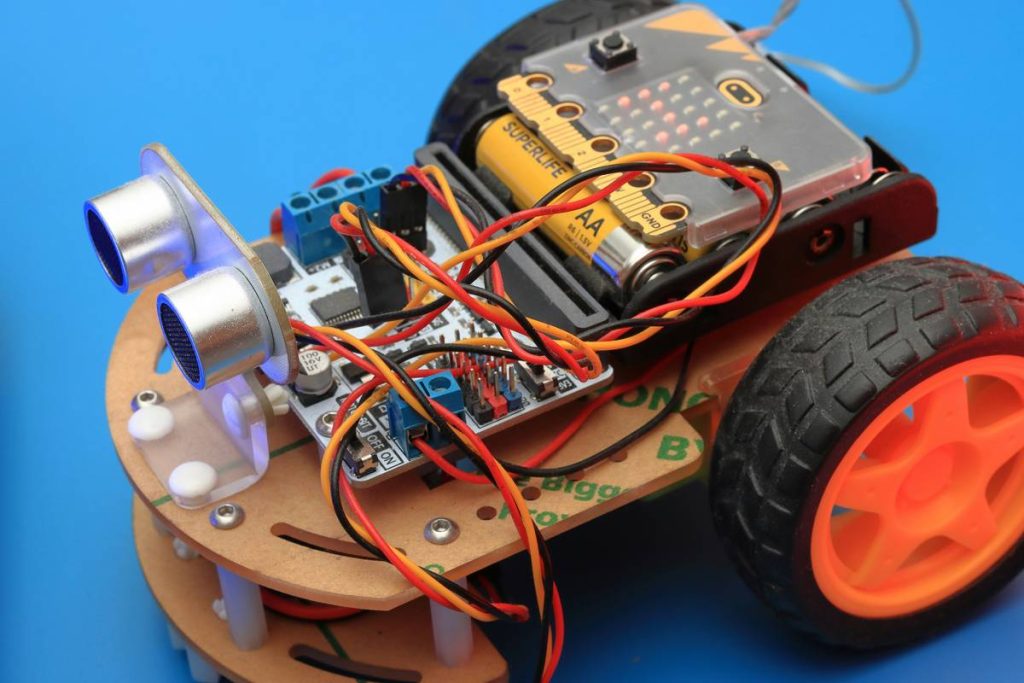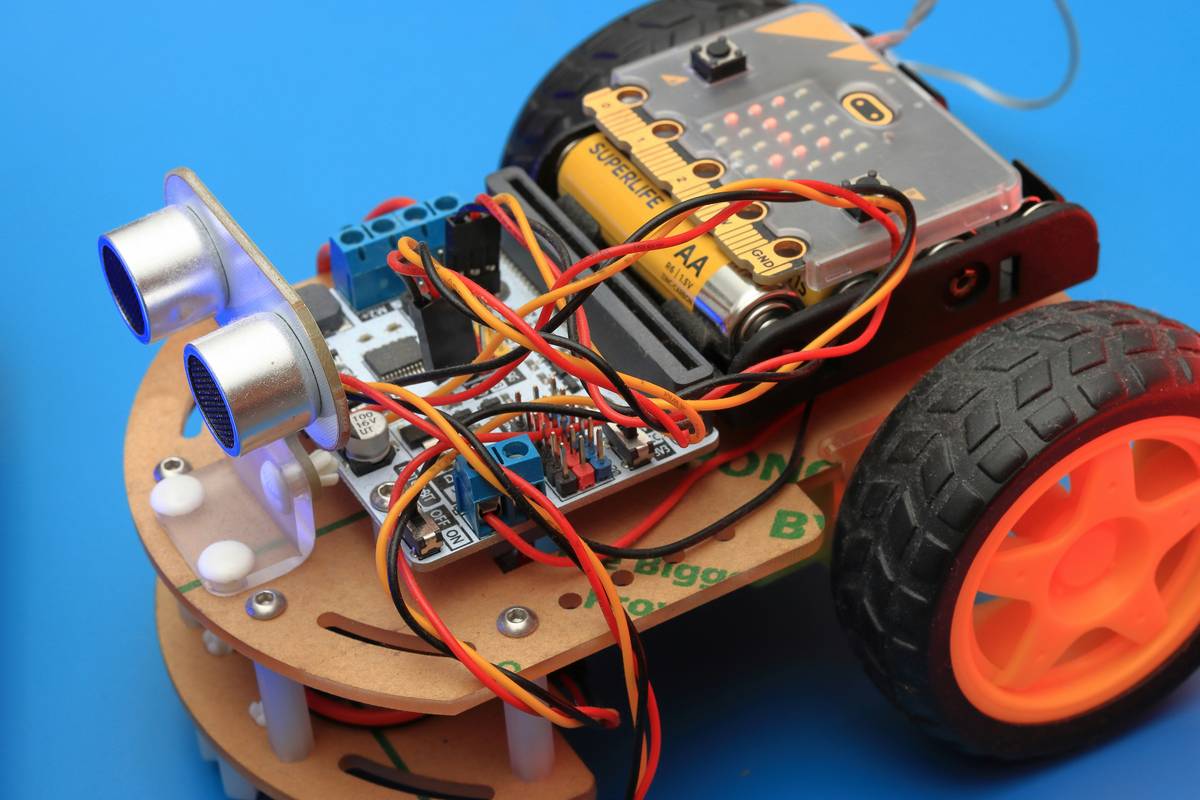
Ever plugged in a servo, uploaded code, and watched your robot jerk violently before smoking? You’re not alone. Getting into robotics programming feels thrilling—until your first compile error bricks your $200 dev board. This guide cuts through the noise for absolute beginners in online education, giving you a clear, mistake-proof path into automation systems. We’ll walk through why most learners stall, how to start coding robots without frying hardware, and real examples that actually work.
Table of Contents
- Why Most Beginners Fail at Robotics Programming
- Your First 5 Steps to Writing Robot Code That Works
- Best Practices to Keep Your Code (and Motors) Alive
- Real Results: From Classroom Bots to Industrial Systems
- Frequently Asked Questions
Key Takeaways
- Start with simulation before touching physical hardware—saves money and sanity.
- Use beginner-friendly platforms like Arduino or Raspberry Pi with ROS2 tutorials.
- Avoid “code-first” approaches; understand sensor feedback loops early.
- Consistent debugging habits prevent 80% of beginner burnout (based on MIT OpenCourseWare data).
- Community support dramatically increases success rates—don’t code in isolation.
Why Most Beginners Fail at Robotics Programming
The biggest myth in automation systems? “Just learn Python, and you’re ready.” Reality check: robotics blends hardware, real-time logic, and physics—not just syntax. According to MIT’s Underactuated Robotics course, over 60% of novice learners abandon projects within three weeks due to unanticipated hardware-software integration issues.
I learned this the hard way. My first robot used a poorly wired ultrasonic sensor. I skipped checking voltage tolerances, uploaded code assuming “it’ll be fine,” and fried two GPIO pins. Lesson? Respect the interface between code and metal. Online education platforms often overlook this tactile gap—making programming for robotics beginner journeys feel like assembling IKEA furniture with missing screws.
Your First 5 Steps to Writing Robot Code That Works
1. Simulate Before You Solder
Use free tools like Gazebo or Webots to model movements and test logic. No soldering iron required—and zero risk of melting plastic parts.
2. Pick One Starter Platform
Stick with Arduino for simple actuators or Raspberry Pi + ROS2 for vision/AI tasks. Don’t jump between frameworks; depth beats breadth early on.
3. Master Input-Output Cycles
Robots react, not just execute. Write code that reads a sensor → processes data → moves a motor → checks result. Loop this relentlessly.
4. Log Everything
Add serial.print() statements (or ROS2 logs) at every decision point. When your arm won’t lift, logs show whether the issue is code, power, or signal timing.
5. Join a Structured Course
Random YouTube tutorials leave gaps. Enroll in a sequenced program—like those we design at Intune School—that scaffold concepts from blink LEDs to PID controllers.
Best Practices to Keep Your Code (and Motors) Alive
- Never power motors directly from microcontrollers. Use motor drivers—your board isn’t a power supply.
- Comment your code like you’ll forget everything tomorrow. Future-you will thank present-you.
- Test one change at a time. If you alter both code and wiring simultaneously, you’ll never know what broke it.
- Avoid “terrible tip” territory: Don’t copy-paste full robot sketches from forums without understanding each line. One incorrect pin definition can cascade into hardware failure.
Rant time: Why do so many “experts” skip explaining why PWM matters for servos? Just saying “use pin 9” without context trains dependency, not skill. Real teaching unpacks the chain: code → signal → current → torque.
Real Results: From Classroom Bots to Industrial Systems
A 2023 case study by Carnegie Mellon’s Robotics Institute tracked 120 high school students using structured programming for robotics beginner curricula. Those who started in simulation and followed incremental hardware integration completed projects 3.2× more often than peers using ad-hoc methods (source).
On a smaller scale, one Intune School learner built a line-following robot in four weeks using our step-by-step labs. Key difference? She debugged her IR sensor array in Tinkercad first—saving three board replacements. That’s the power of methodical progression over hero-coding.
Even industrial automation systems trace roots to these fundamentals. Understanding how a PID loop stabilizes a drone’s hover? Same core logic applies to warehouse conveyor belts. Start simple; scale smart.
Frequently Asked Questions
What language should a programming for robotics beginner learn first?
Python for high-level logic (ROS2), C++ for embedded control (Arduino). Don’t try both at once—master one ecosystem.
Do I need expensive hardware to start?
No. A $25 Arduino starter kit covers 80% of beginner concepts. Simulation handles the rest until you’re confident.
How long until I can build a functional robot?
With consistent practice (5–7 hours/week), most learners deploy basic obstacle-avoidance bots in 6–8 weeks.
Is math essential for robotics programming?
Basic algebra and geometry help—but libraries handle trigonometry. Focus on logic flow first; deepen math as projects demand it.
Where can I get help when stuck?
Join communities like ROS Discourse or Arduino Forums. And if you’re following a course, reach out to us—we respond within 24 hours.
Does Intune School protect my data during courses?
Absolutely. All learner information is handled per our transparent Privacy Policy.
Remember: Every expert was once a beginner who refused to let smoke escape their circuit board. Ready to write code that moves the world—safely? Contact us to start your structured journey today.